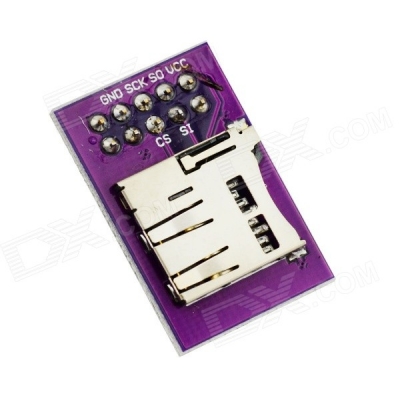
ماژول SD برای RAMPS 1.4

Feature:
1. SPI mode
2. Support voltage:4.5 to 5.5V
3. Up to 50 MB/sec data transfer rate
4. 1 x Smart Borosilicate glass
5. Sits directly on a RAMPS.
6. Also be used with other microcontrollers
Testing your board
Put your SD RAMPS board onto an Arduino MEGA like this:
Sd8.jpg
The RED LED should light up, indicating the board is powered.
Open the Serial Monitor in you Arduino environment. If the SD card is readable, it should read something like:
Wiring is correct and a card is present.
Card type: SDHC
Volume type is FAT16
Volume size (bytes): 822231040
Volume size (Kbytes): 802960
Volume size (Mbytes): 784
Files found on the card (name, date and size in bytes):
TEST.TXT 2011-08-10 14:14:40 0
TST2.TXT 2011-08-10 14:14:46 0
TST3.TXT 2011-08-10 14:14:54 0
Troubleshooting
1. The LED does not light up
Make sure the LED is mounted the right way. If the 74HC4050 is getting hot, you might have a short.
2. The test program says: initialization failed. Things to check: ...
Follow the advise of the program and check every step above. Check if your SD card works.
1. Connect your SD RAMPS like this to the RAMPS board:
2. Go to the file configuration.h and change the motherboard setting:
define MOTHERBOARD 33 3. Check that SD card support is enabled:
define SDSUPPORT 1 4. Make sure you are using 115200 for your baudrate, as Arduino doesn't support 250,000 baud.
5 Compile and upload the firmware.
6. Open the Serial Monitor from the Arduino IDE. Make sure the left select list reads newline. Enter the GCode M21 (init SD card). It should return ok.